
Lighting Guides
How to Size a Custom Chandelier for a Hotel Lobby
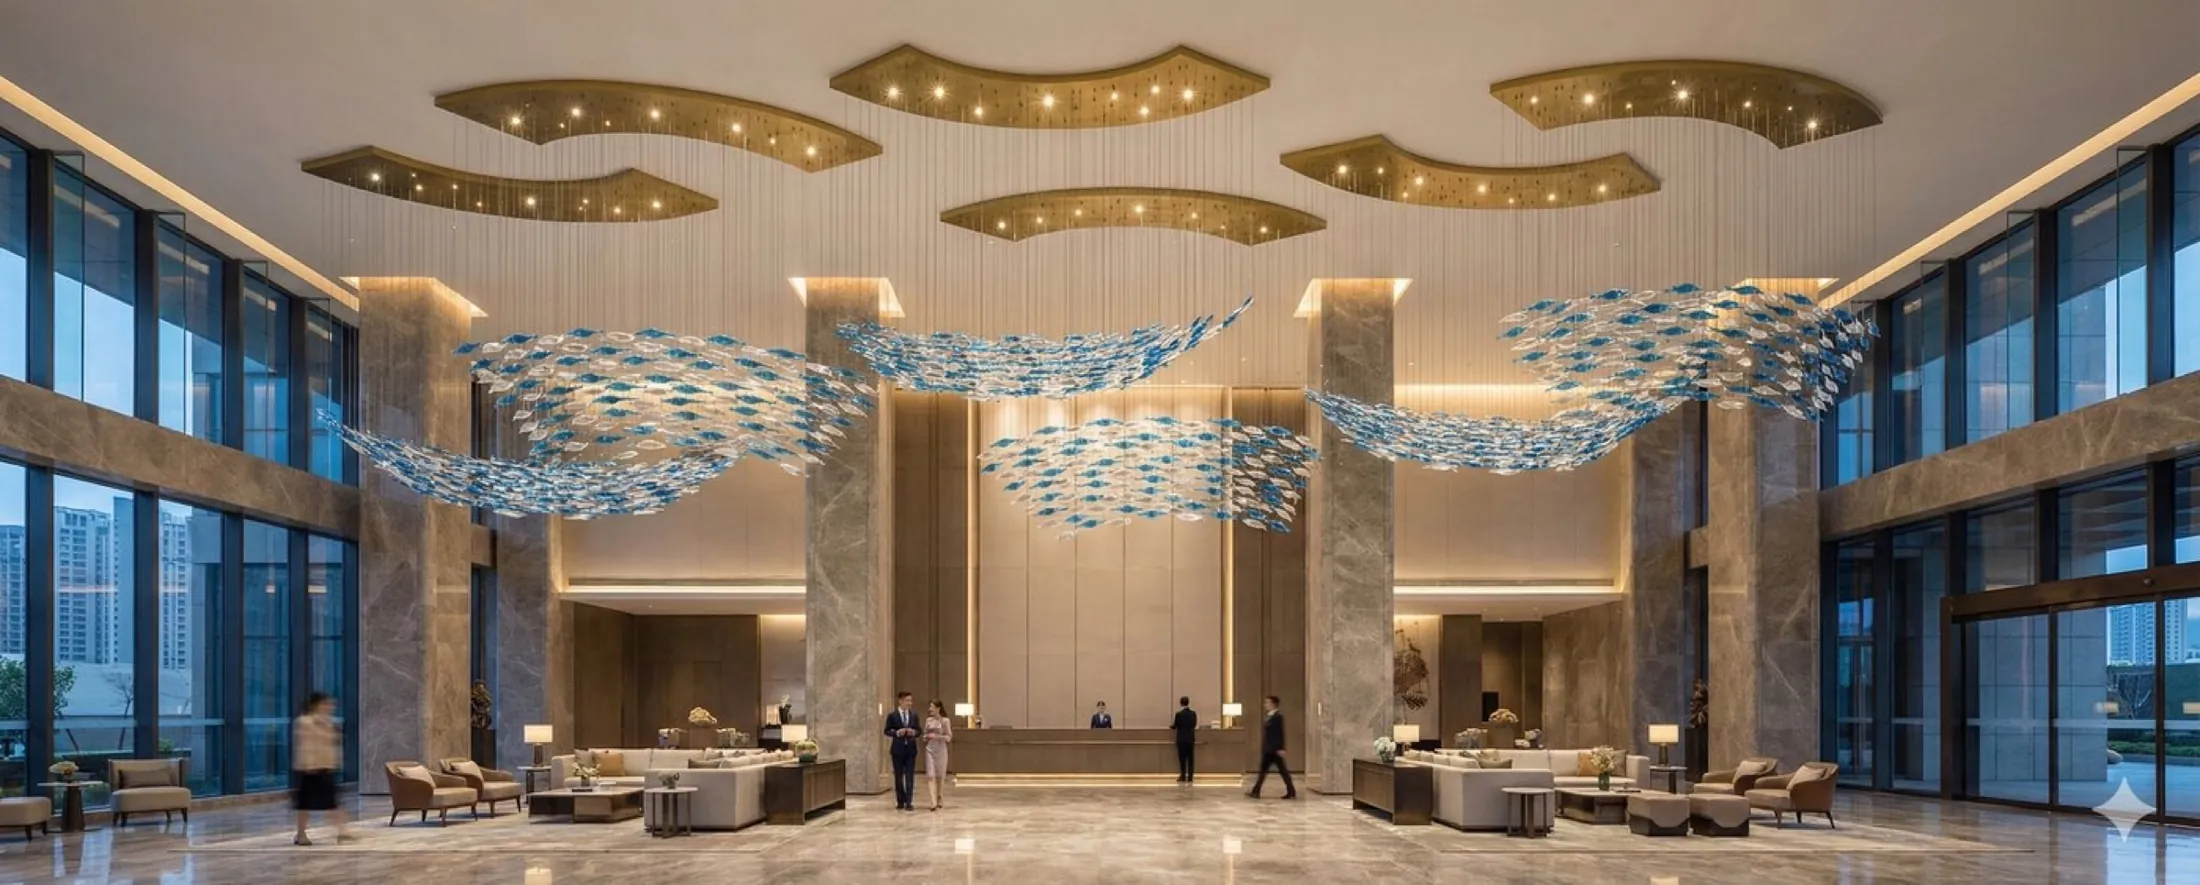
A hotel lobby chandelier has to work from several viewpoints. Guests may see it through the entrance glazing, from the reception desk, beneath a mezzanine or directly below the fixture. A size that looks impressive in a product drawing can feel undersized once it is placed in a tall room. The opposite problem is just as common: a dramatic design may obstruct sightlines or sit too close to furniture and circulation routes.
The best starting point is the room, not a standard chandelier diameter. Share the reflected ceiling plan, floor plan, sections and a few interior views before asking for a quotation. These drawings give the lighting manufacturer enough information to study scale and suspension properly.
Read the room in three dimensions
Room length and width are only part of the calculation. Ceiling height, void shape and the distance from the entrance to the fixture affect how large the chandelier appears. In a double height lobby, the fitting often needs more vertical depth than expected because guests first see it from a long distance. In a lower reception space, a shallower form may create more impact without making the ceiling feel crowded.
Mark the principal viewing directions on the plan. A long linear chandelier may suit a lobby viewed from the entrance, while a round or clustered composition can work better when guests approach from several sides. If the fixture is centred above seating, compare its footprint with the furniture group rather than the entire room.
Set the lowest point before choosing the overall height
The bottom of the chandelier must clear the activities below it. Check doors, luggage routes, reception queues, decorative trees, temporary event installations and maintenance access. Where guests can walk directly beneath the fixture, the project team should confirm the required clearance with the local designer and installer.
Once the lowest safe point is known, work upward. The available vertical zone runs from that point to the canopy or ceiling connection. This method gives the designer a realistic envelope for glass drops, branches and suspension cables. It also helps avoid last minute shortening on site, which can change the intended proportions.
Check the ceiling and suspension points early
Large decorative lighting may require several fixing points and a separate load bearing structure above the finished ceiling. Ask the structural or ceiling contractor to review the estimated weight and suspension layout before production. The canopy should also allow access to drivers, terminals and adjustment hardware.
For complex compositions, a coordinated ceiling drawing is useful. It can show fixing points, cable positions, power feeds and the relationship between the chandelier and nearby downlights, sprinklers, air grilles or access panels.
Use a visual mock-up before approval
Dimensions on a schedule can be difficult to judge. A scaled elevation placed into the interior rendering gives the client and designer a clearer sense of proportion. For an important lobby, review at least one front view and one side view. If the design uses repeated glass pieces, a small material or lighting sample can confirm colour, texture and light transmission before the full quantity is made.
Final approval should record overall dimensions, lowest point, finish, glass specification, colour temperature, dimming requirements and suspension plan. With those items agreed, the chandelier can move into engineering without relying on assumptions about the room.