
Project Guides
Staircase Chandelier Planning: Drop Height, Layout and Installation
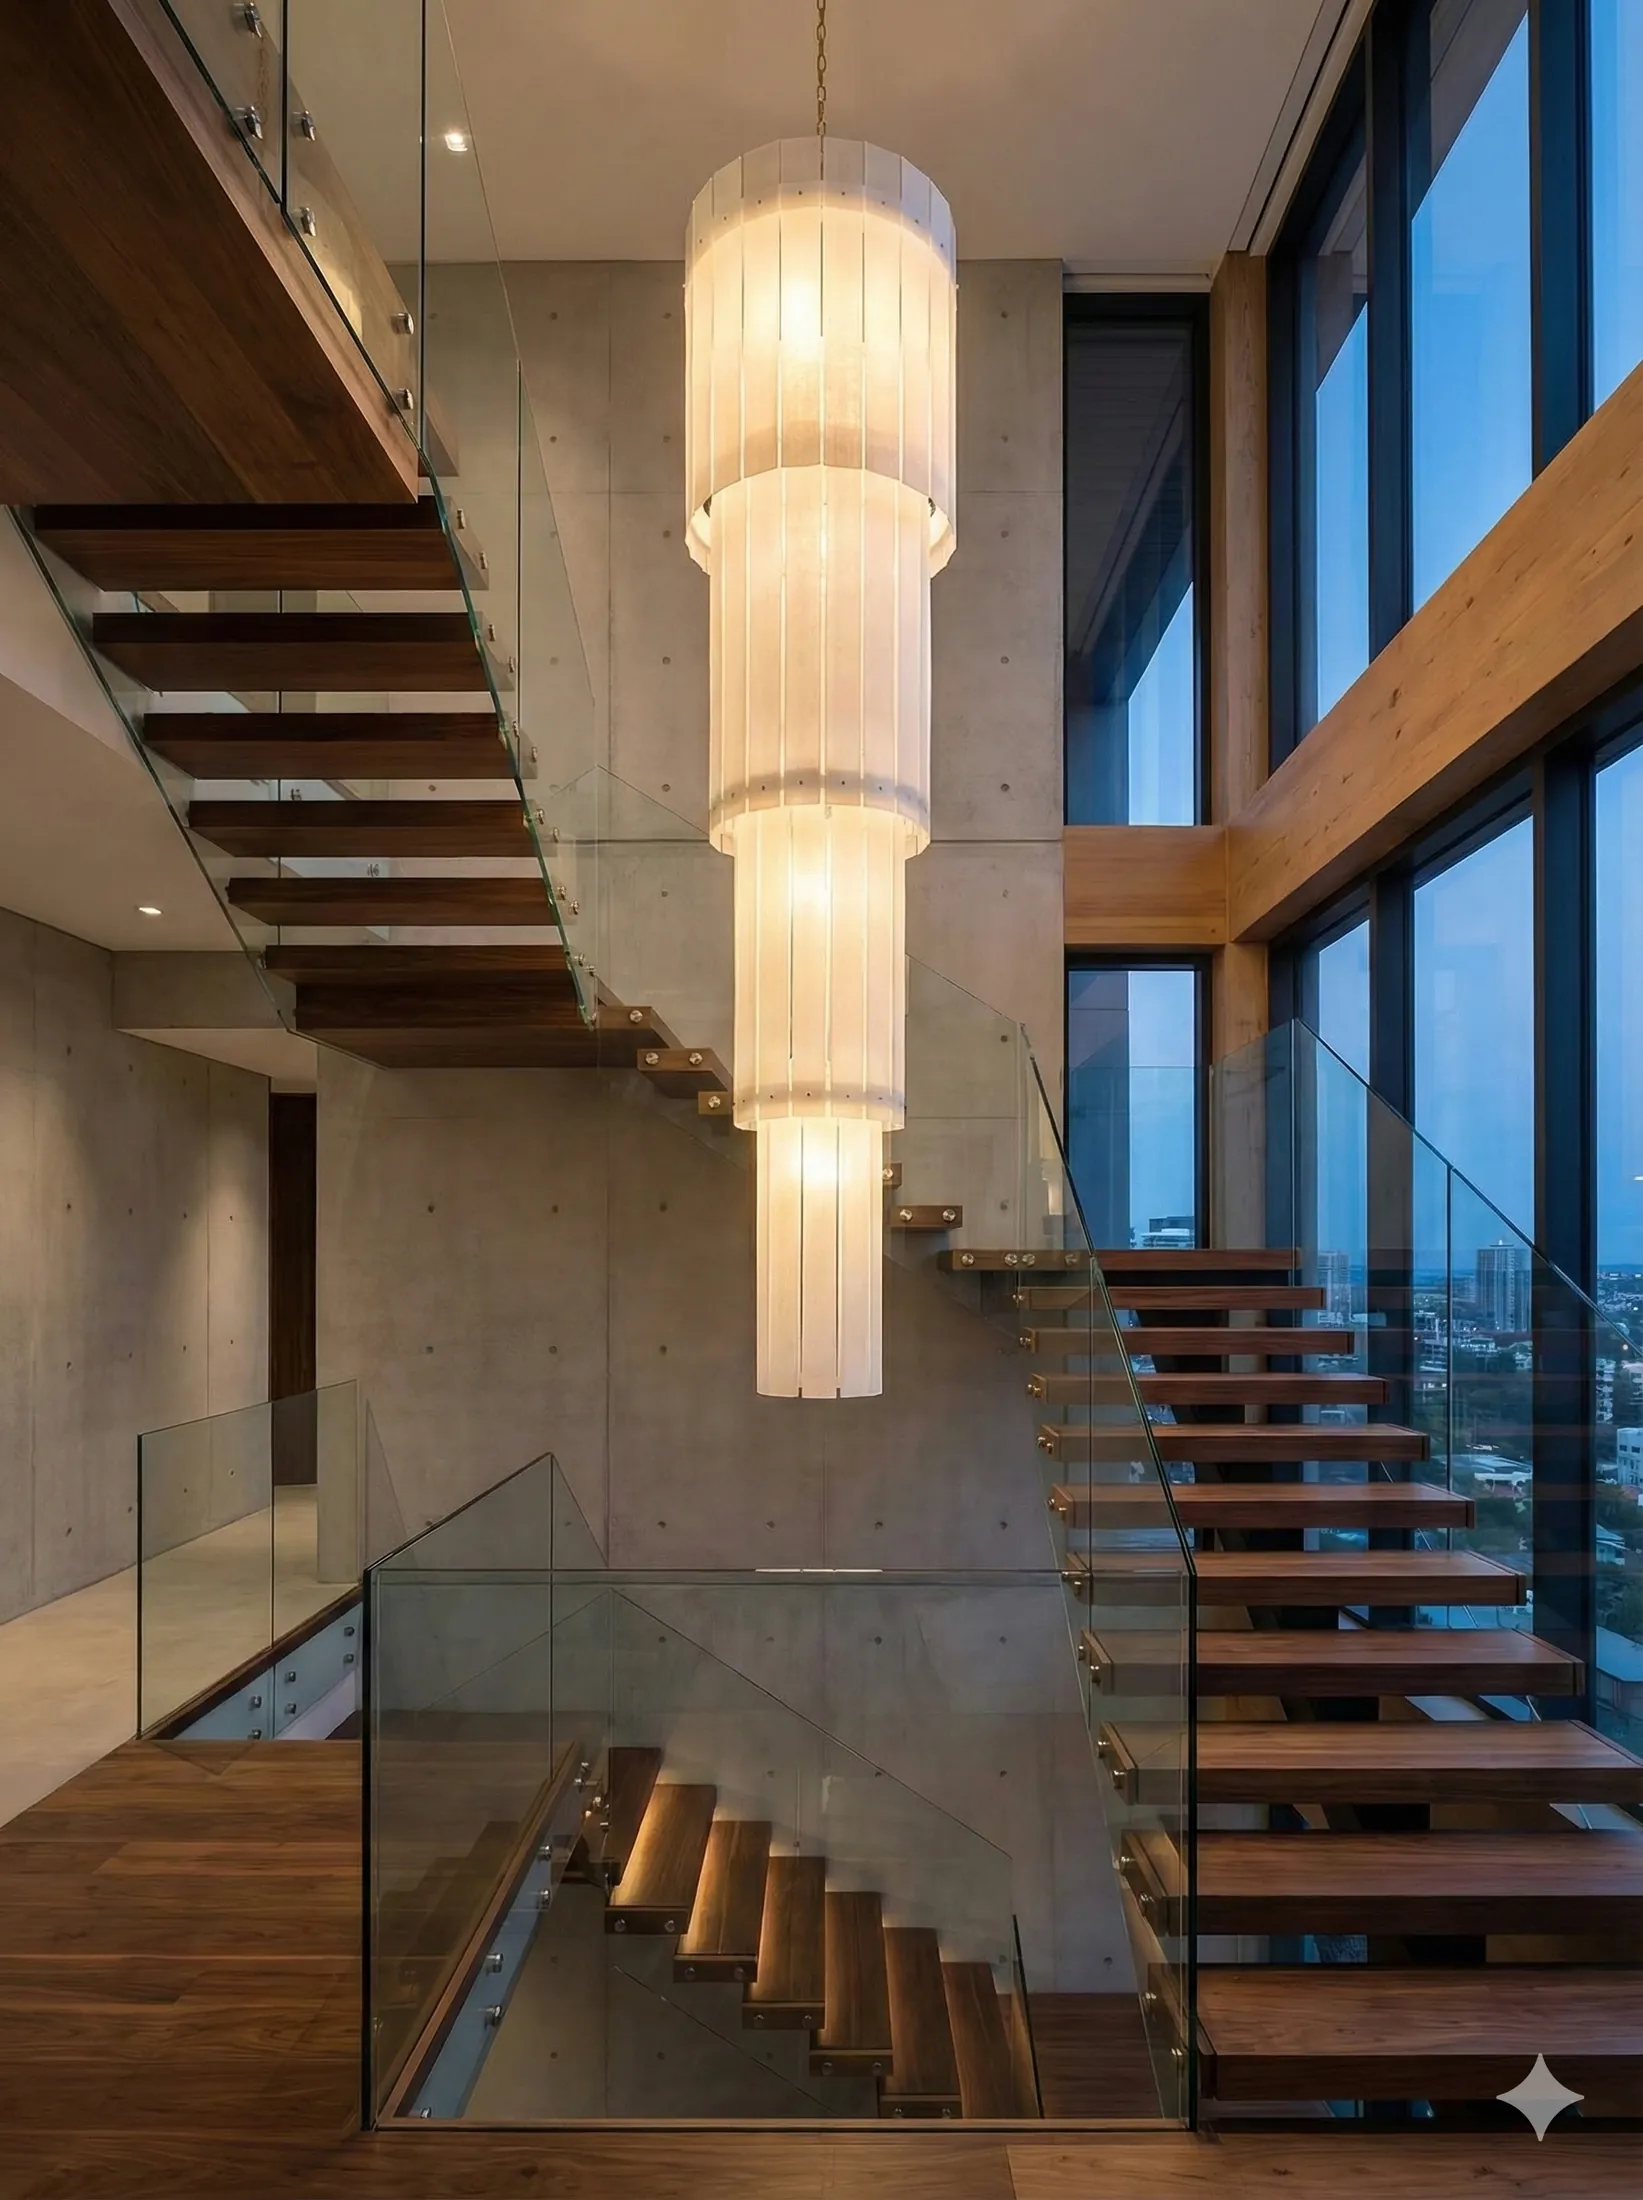
A staircase chandelier is rarely viewed from one position. It changes as people move between floors, so the layout has to look balanced from the landing, the lower level and the stair itself. That makes the planning process different from choosing a pendant for a dining table or a single height room.
Before selecting a design, gather a floor plan for every level that faces the void, a vertical section and photos or renderings of the staircase. These documents help the lighting team understand the shape of the opening, the direction of travel and the points where the chandelier will be closest to people.
Start with the stair void
Measure the clear opening rather than the overall staircase. Handrails, slabs and decorative wall finishes reduce the visible space around the fixture. Leave enough distance between the chandelier and the edge of each landing so that glass, crystal or metal parts cannot be reached accidentally.
The layout does not always need to follow the exact centre of the void. An offset composition can suit a curved stair or keep the fixture clear of a landing. What matters is that the offset looks intentional from the main viewpoints and is reflected in the ceiling fixing plan.
Plan the vertical composition
Set the top and bottom limits first. The upper limit depends on the canopy, ceiling structure and whether the first decorative element should be visible from the top floor. The lower limit depends on head clearance, the bottom landing and the view from the entrance or adjacent rooms.
Within that zone, decide how the drops will be distributed. A gradual spiral produces a different rhythm from a random cluster. A design with several repeated lengths can be easier to install and adjust than one with every cable cut to a unique dimension. Whichever approach is used, the schedule should assign a number to each drop and match that number to the ceiling plan.
Consider maintenance before production
Ask how the fixture will be cleaned and how drivers or light sources will be replaced. A very dense cluster may look attractive in a rendering but become difficult to service from a ladder or mobile platform. The designer should identify whether maintenance will take place from the top landing, the stair, scaffolding or lifting equipment.
Access also affects the electrical design. Drivers placed above a closed ceiling need a practical access panel. If the project uses remote drivers, confirm cable distances and locations with the electrical consultant.
Coordinate installation with the site programme
Large staircase fixtures are often installed after major construction work but before the area is fully furnished. The team needs a safe working platform, a clear route for cartons and a protected area for unpacking components. Check whether long cables or frames can pass through doors, lifts and stair turns.
Numbered packing and a matching installation drawing save time on site. Each carton should identify the part or drop position it contains. For a multi-piece chandelier, it is useful to install the ceiling hardware and test the electrical supply before fragile decorative parts are brought into the void.
A final planning package should include the ceiling layout, elevation, suspension schedule, electrical information and assembly sequence. That information gives the installer a clear method and helps the finished composition match the approved drawing.